In the rapidly expanding world of cryptocurrency, protecting your digital assets is more critical than ever. While software wallets and exchanges can make crypto transactions convenient, they often leave your assets vulnerable to hacks, malware, and phishing attacks. This is where Trezor, a pioneering hardware wallet solution, comes in. Trezor provides a secure, easy-to-use platform that allows you to safely store, manage, and access your cryptocurrency offline.
Whether you are a first-time crypto user or a seasoned investor, this guide will walk you through how to get started with Trezor and ensure your digital assets remain secure.
A Trezor hardware wallet is a small, physical device designed to store your private keys offline. Private keys are the cryptographic codes that give you access to your cryptocurrency. By keeping them offline, Trezor makes it nearly impossible for hackers to access your funds through online attacks.
Trezor currently offers two main products: the Trezor Model T and the Trezor One. Both devices allow you to manage multiple cryptocurrencies securely, including Bitcoin (BTC), Ethereum (ETH), and thousands of other altcoins. Trezor wallets are not only about security—they also prioritize usability, making cryptocurrency management accessible for everyone.
Trezor has been at the forefront of hardware wallet technology since 2014. Millions of crypto enthusiasts worldwide rely on Trezor for several key reasons:
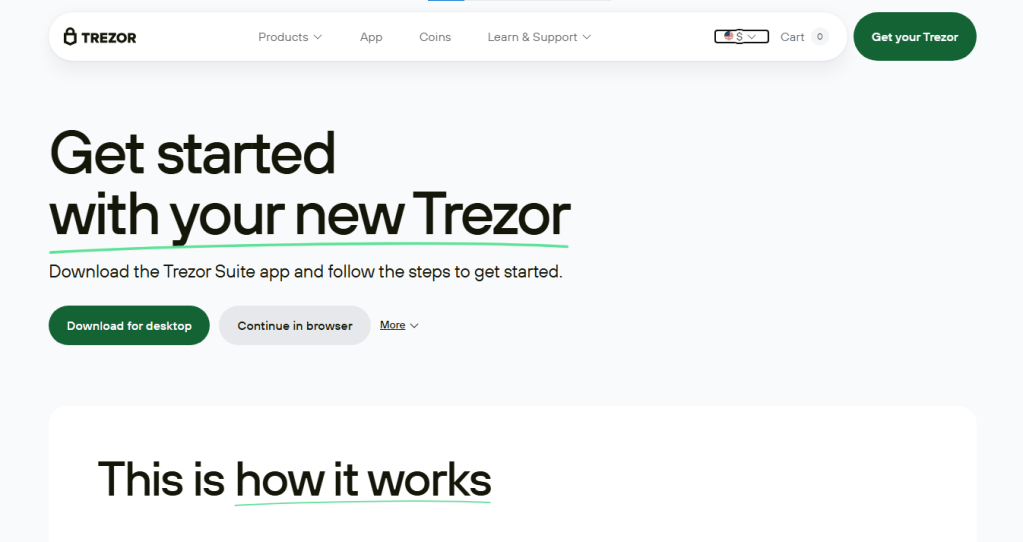
Getting started with Trezor is simple. The following steps will guide you through the setup process:
When you receive your Trezor wallet, carefully unbox it and make sure all the components are included. You should find your Trezor device, a USB cable, and a recovery card for writing down your seed phrase.
Trezor Suite is the software interface for managing your wallet. It is available for desktop (Windows, macOS, Linux) and web. Visit the official Trezor website to download and install the Suite.
Plug your Trezor device into your computer using the USB cable. Follow the on-screen prompts to initialize your device. You will be asked to create a PIN code. This PIN is essential for protecting access to your wallet, so choose a secure combination that only you will remember.
During setup, Trezor will generate a 12- or 24-word recovery seed. This seed is the only way to restore your wallet if your device is lost, stolen, or damaged. Write it down carefully on the provided recovery card and store it in a secure, offline location. Never store your seed digitally or share it with anyone.
Once your device is set up, you can add cryptocurrencies through Trezor Suite. Select the coins you want to manage, and Trezor will generate wallet addresses for you to receive funds.
With your Trezor device and Suite ready, you can securely send and receive cryptocurrency. To send funds, enter the recipient’s address and the amount in Trezor Suite, then confirm the transaction on your device. To receive funds, share your wallet address with the sender.
While Trezor provides excellent security, there are additional steps you can take to protect your assets:
Trezor hardware wallets offer a robust, user-friendly way to secure your cryptocurrency. With top-tier security, wide coin support, and easy setup through Trezor Suite, your digital assets are protected against the many online threats that exist in the crypto world.
Whether you are new to crypto or a veteran investor, starting with Trezor ensures that your investments are safe, accessible, and under your complete control. Take charge of your crypto security today with Trezor and enjoy the peace of mind that comes with knowing your assets are truly safe.